Installing a handheld shower with a Shower Slide Bar is a manageable DIY project that can significantly enhance your shower experience. Here are general installation instructions, but be sure to refer to the manufacturer’s specific guidelines for your Shower Slide Bar.
Step 1: Gather Tools and Materials
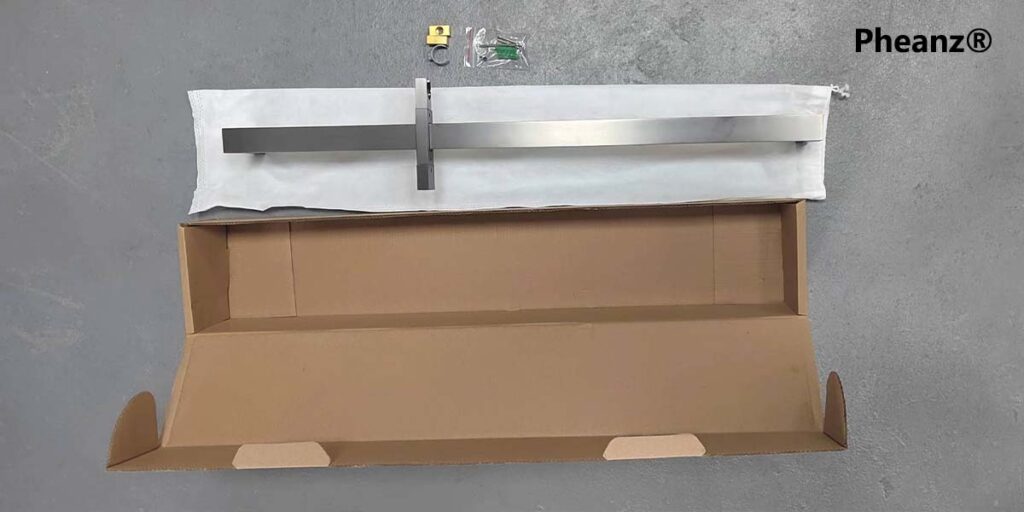
Before you begin, ensure you have all the necessary tools and materials. Typically, you’ll need the following:
- Drill: Choose the appropriate type for your wall material, such as a tile drill bit or a standard one.
- Screwdrivers: Various sizes to fit different screw types.
- Level: Ensures the Shower Slide Bar is installed evenly.
- Tape Measure: For precise measurements.
- Pencil: For marking installation points.
- Wrench: For tightening hose connections.
- Handheld Shower Kit and Shower Slide Bar: Including the handheld showerhead,Shower Slide Barr, brackets, and hose.
Using the right tools for your bathroom wall materials helps prevent damage and ensures a secure installation.
Step 2: Choose the Installation Location
Select the location for installing the Shower Slide Bar in your shower area. It should be within easy reach and convenient for using the water flow and temperature controls. Consider the following:
- Height: The Shower Slide Bar should be at a comfortable height for all household members.
- Proximity: Install near the shower controls for easy access.
- Space: Ensure it doesn’t obstruct other bathroom fixtures like shelves or grab bars.
Use a level and pencil to mark the desired location on the wall accurately.
Step 3: Prepare the Wall
If installing on a tiled surface, use a tile drill bit to create guide holes for the screws to prevent cracking. For other surfaces like fiberglass or acrylic, a standard drill bit will suffice. Ensure the area is clean and free of debris:
- Clean the Wall: Wipe down the surface with a damp cloth to remove dust and grime.
- Inspect the Wall: Check for any uneven or damaged areas.
- Drill Guide Holes: Using the marked points, drill guide holes to the appropriate depth and diameter for your screws.
Step 4: Install the Shower Slide Bar Bracket
Use the provided screws and anchors to secure the Shower Slide Bar bracket to the wall:
- Position the Bracket: Align the bracket with your marked points.
- Drill Holes: Drill into the marked points.
- Install Anchors: Insert the anchors into the drilled holes for added stability.
- Secure the Bracket: Attach the bracket with screws, using a screwdriver to tighten securely.
- Level Check: Ensure the bracket is level before fully tightening.
Step 5: Install the Shower Slide Bar

Attach the handheld shower bracket to the Shower Slide Barr and adjust to the desired height:
- Slide the Bracket: Place the handheld shower bracket onto the Shower Slide Bar.
- Adjust Height: Set the bracket at a height suitable for your household.
- Secure the Bracket: Tighten the fixing screw at the bottom to hold it in place.
Step 6: Connect the Hose
Attach one end of the shower hose to the handheld bracket and the other to the wall outlet:
- Connect to the Bracket: Securely attach one end of the hose to the handheld shower bracket.
- Connect to the Outlet: Attach the other end to the wall outlet, tightening with a wrench to prevent leaks.
- Check Connections: Ensure all connections are secure and free of twists.
Step 7: Test the Installation
Turn on the water to test the handheld shower function:
- Check Water Flow: Ensure there are no leaks and the water flows correctly from the showerhead.
- Adjust Height and Angle: Set the showerhead to your preferred height and angle.
- Function Test: Test all settings, such as different spray modes and water pressure adjustments.
Step 8: Complete the Installation
Once satisfied with the positioning, ensure all connections are tight. Clean any excess caulk or debris and enjoy your newly installed handheld shower with a Shower Slide Bar!
A Shower Slide Bar allows you to adjust the height of the showerhead, providing a personalized shower experience. It can be fixed to the wall, offering a secure platform for the handheld showerhead. Whether tall, short, or with limited mobility, a Shower Slide Bar can provide optimal comfort and convenience. It directs the water flow exactly where needed, enhancing your shower experience.
Installing a handheld shower with a Shower Slide Bar is an easy DIY project that can greatly improve your bathing experience, offering comfort, convenience, and control. By following these steps, you can easily install it yourself at home, enjoying a more personalized and comfortable shower experience.
Thank you for taking the time to read Pheanz® blog. We look forward to working with you to create a better future. If you have any questions about Shower Slide Bars or need more information, feel free to contact Pheanz®. Follow us on social media for more updates!